
Show and Tell: looks like a phone, but I can't remember, but I know they could play games on it; I let them play the games for a little while, because they were having such a good time! How can you interrupt that much fun??

Giggles!

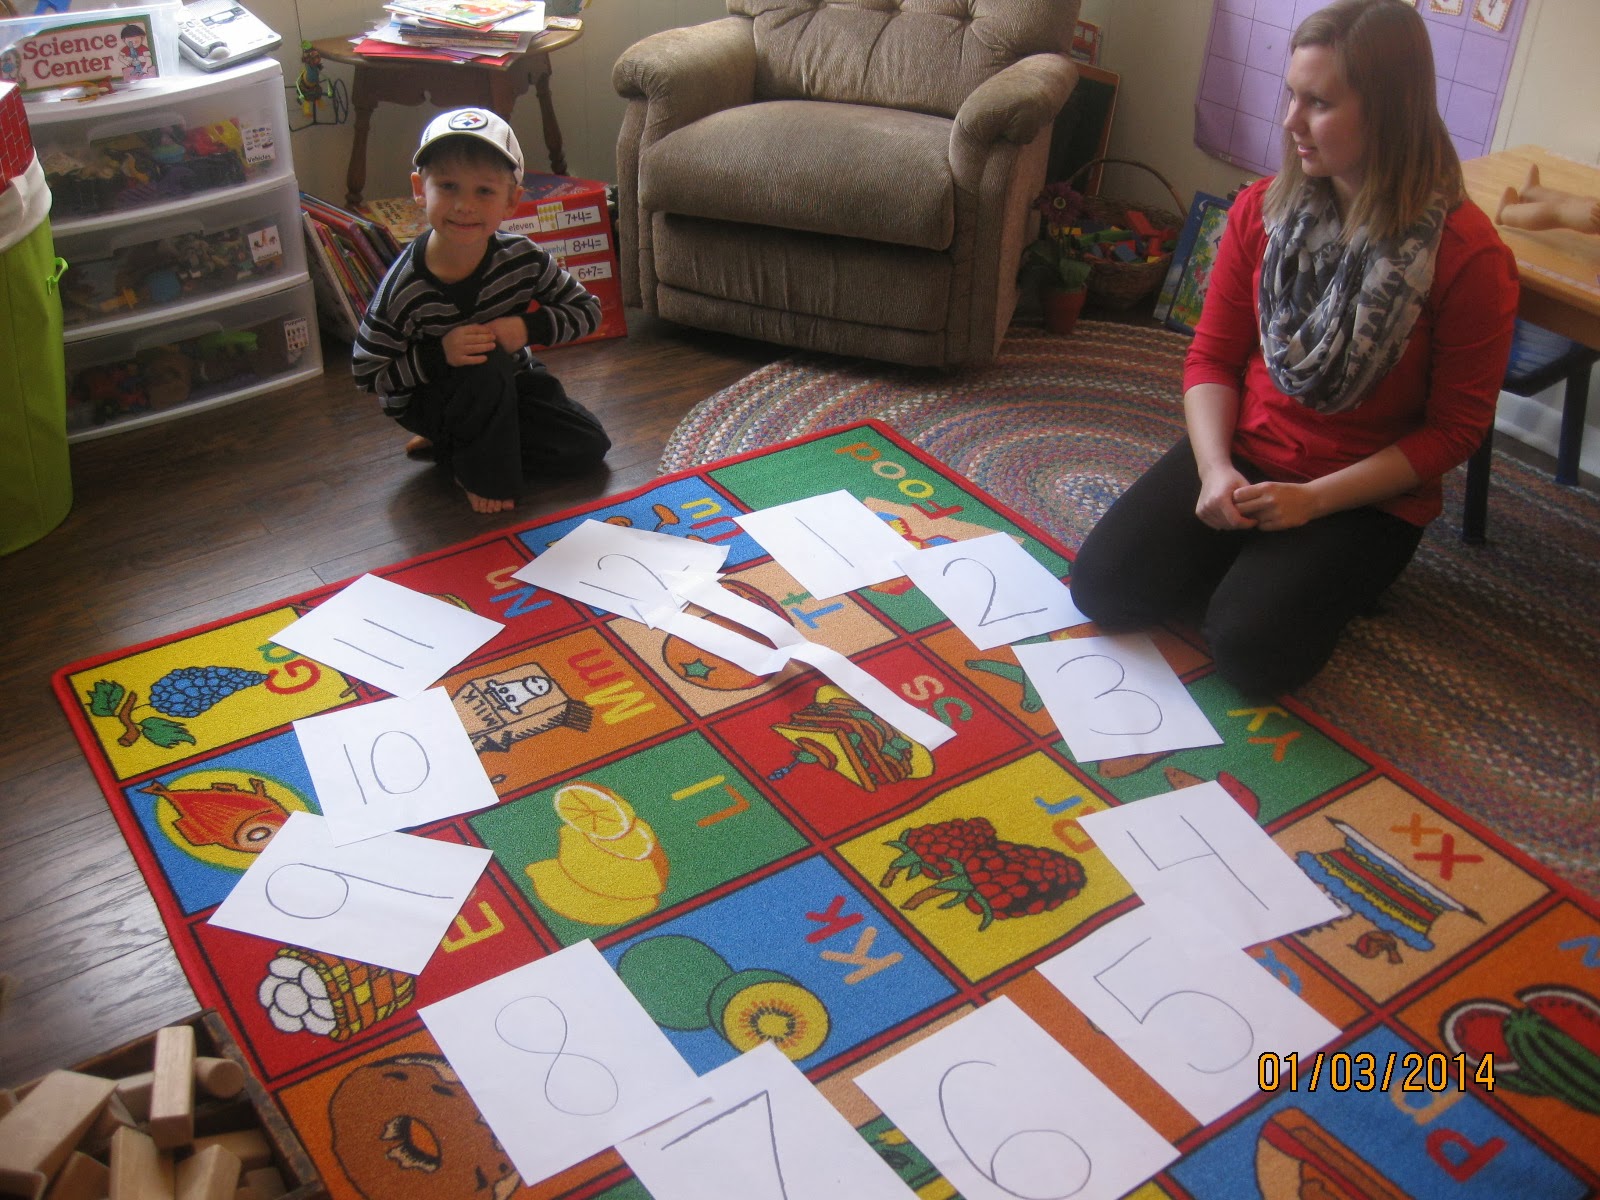
Lesson by Miss Julia--big, big clock. Lesson on telling time. We taught them that the short hand is the minute hand and the big hand is the hour clock. They picked up on this quickly!


Sequencing strip: The children were asked to cut out the pictures from the worksheet that corresponds to the book "If You Give a Mouse a Cookie." We then glued to pictures in the correct order of how they occurred in the story.


Getting ready to draw a winter scene. I had the children draw whatever they wanted having to do with winter. They all included a snowman on their picture.

Jake was checking out a picture I have on my fridge of Madison holding up a number 5 (she had the picture taken when she turned 5). He wanted a picture of himself with a 3, so I cut one out of paper, had him hold it up, and took his picture. He was satisfied and happy.

Gotta move it down a little, Jakey! lol

Kinda cute, because he is wearing his favorite character on his shirt--Mickey Mouse!

New floors in the school room--finally! Looks much better!

After a day of lots of play!

A visitor comes to play! Asher! This little guy is my nephew. He came to PA to visit for the week with his grandparents, so I invited him to come play with us for a while. He seemed to enjoy all the new toys!


Asher!


Stylin' Jake
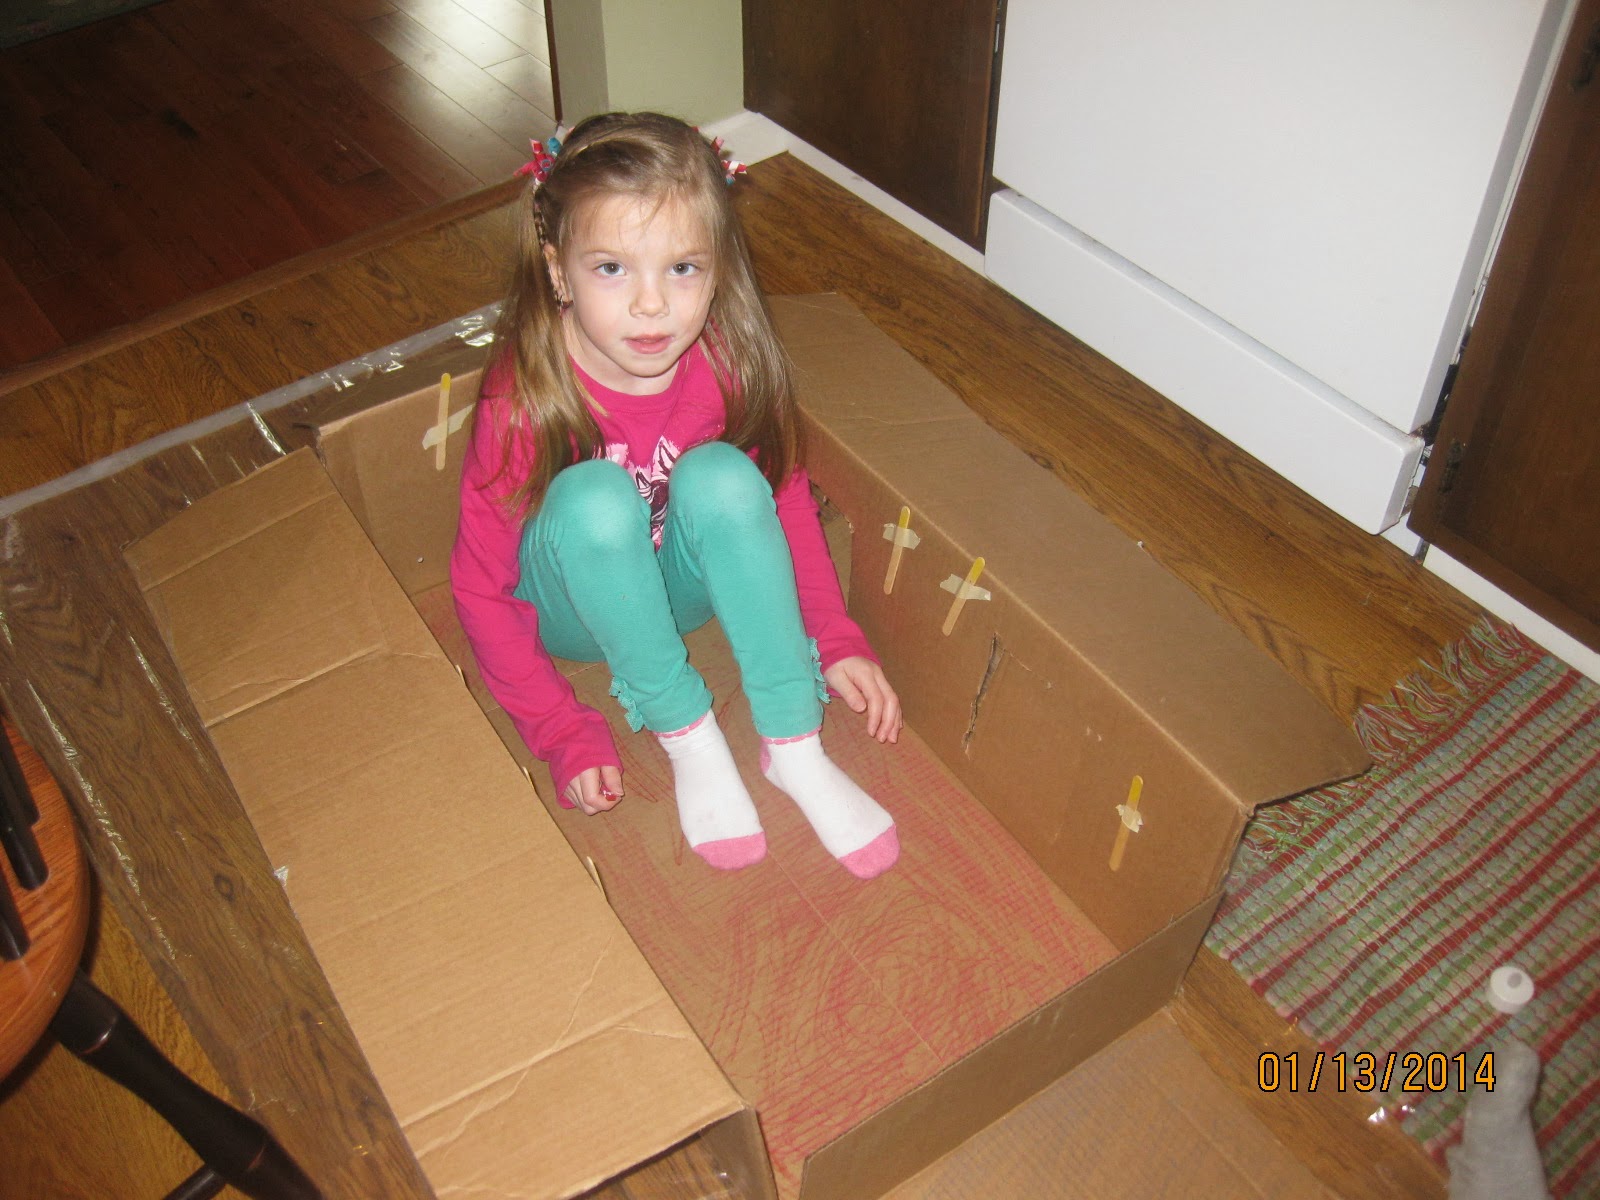
This is NOT a box! It's never a box! It becomes whatever the scenario needs!


Building a shelter for cats!

Block play!

Miss Julia and her friend Miss Ashley were visiting us on this day that we were making snowmen out of socks. They wanted to make one, too! Of course! They are so cute.


Paper plate swirly snowman!

Got the idea for this from none other---Pinterest!

I cut a fish shape out of the center of construction paper. The children were then given a sheet of plain white paper. We folded the paper in half. They were given paint and told to put paint splotches on only one side of the paper. Once they did that, I had them fold the paper and press down, creating this nice design. Once it dried, I placed the fish cutout construction paper over top and used double-sided tape to hold it in place. O is for Ocean


Snow Much Fun! It's been bitter cold here for about a week, so I did not take the children outdoors. If you can't take the children to the snow, bring the snow to the children! I used a large pot and a ladle to bring in bunches of snow. I provided lots of bowls, spoons, and creatures for play! They played for about an hour with this--they loved it. We tried adding some food coloring to color the snow, but since a lot of it was ending up on the floor, I was afraid of staining from the food coloring. They did not seem to need it anyway to have fun!


A window for the cave!

Stuck in the snow! Where's the tow truck when you need it?


Popsicle stick bridge!


Sea shell painting and glitter! O is for Ocean week. This is just a little project I offered the kids, and they took me up on it and enjoyed painting the shells. I told them we could make them into necklaces, but they wanted them just as is.

This was an activity that corresponded with a Bible lesson. I gave each student a piece of card stock and had them color the entire sheet. I explained that they needed to press down hard on the crayon to get a good, solid color, and that they could use various crayon colors. Afterwards, we painted over the sheet with watered-down black paint. We let this dry, then took toothpicks to scratch a Bible verse onto the sheet. The various colors of the crayon showed through the scratched areas!


P is for Plants. Since we are getting close to Valentine's Day, I found this heart flower on Pinterest.

Just cut out four heart shapes for the flower, and two green hearts for the leaves. Glue them to a popsicle stick and draw a happy face on the flower. Cute! I forgot to take a picture of the final project, however. We are learning the plant parts: root, stem, leaves and flower and what part each plays for the plant. I cut up a brown lunch bag into strips and had the children glue on roots at the bottom of the "stem."

Tissue paper flowers. I used 6 pieces of tissue paper, folded it accordion style. Folded it in the middle and tied it with a string. Then fluff!

P is for Pretzels. We made homemade pretzels. The children enjoyed watching for the dough to raise and double in size. I had them make a letter P and a letter O with the dough, but then told them they could make the dough into anything they liked. We kept some dough just to play with for a while.
No comments:
Post a Comment