Sock Snowmen: I purchased socks at Wal-Mart and made these cute little snowmen with the students. My daughter and her friend, Ashley, were home helping this particular day, and they wanted to make snowmen, too. Turned out pretty darned cute!
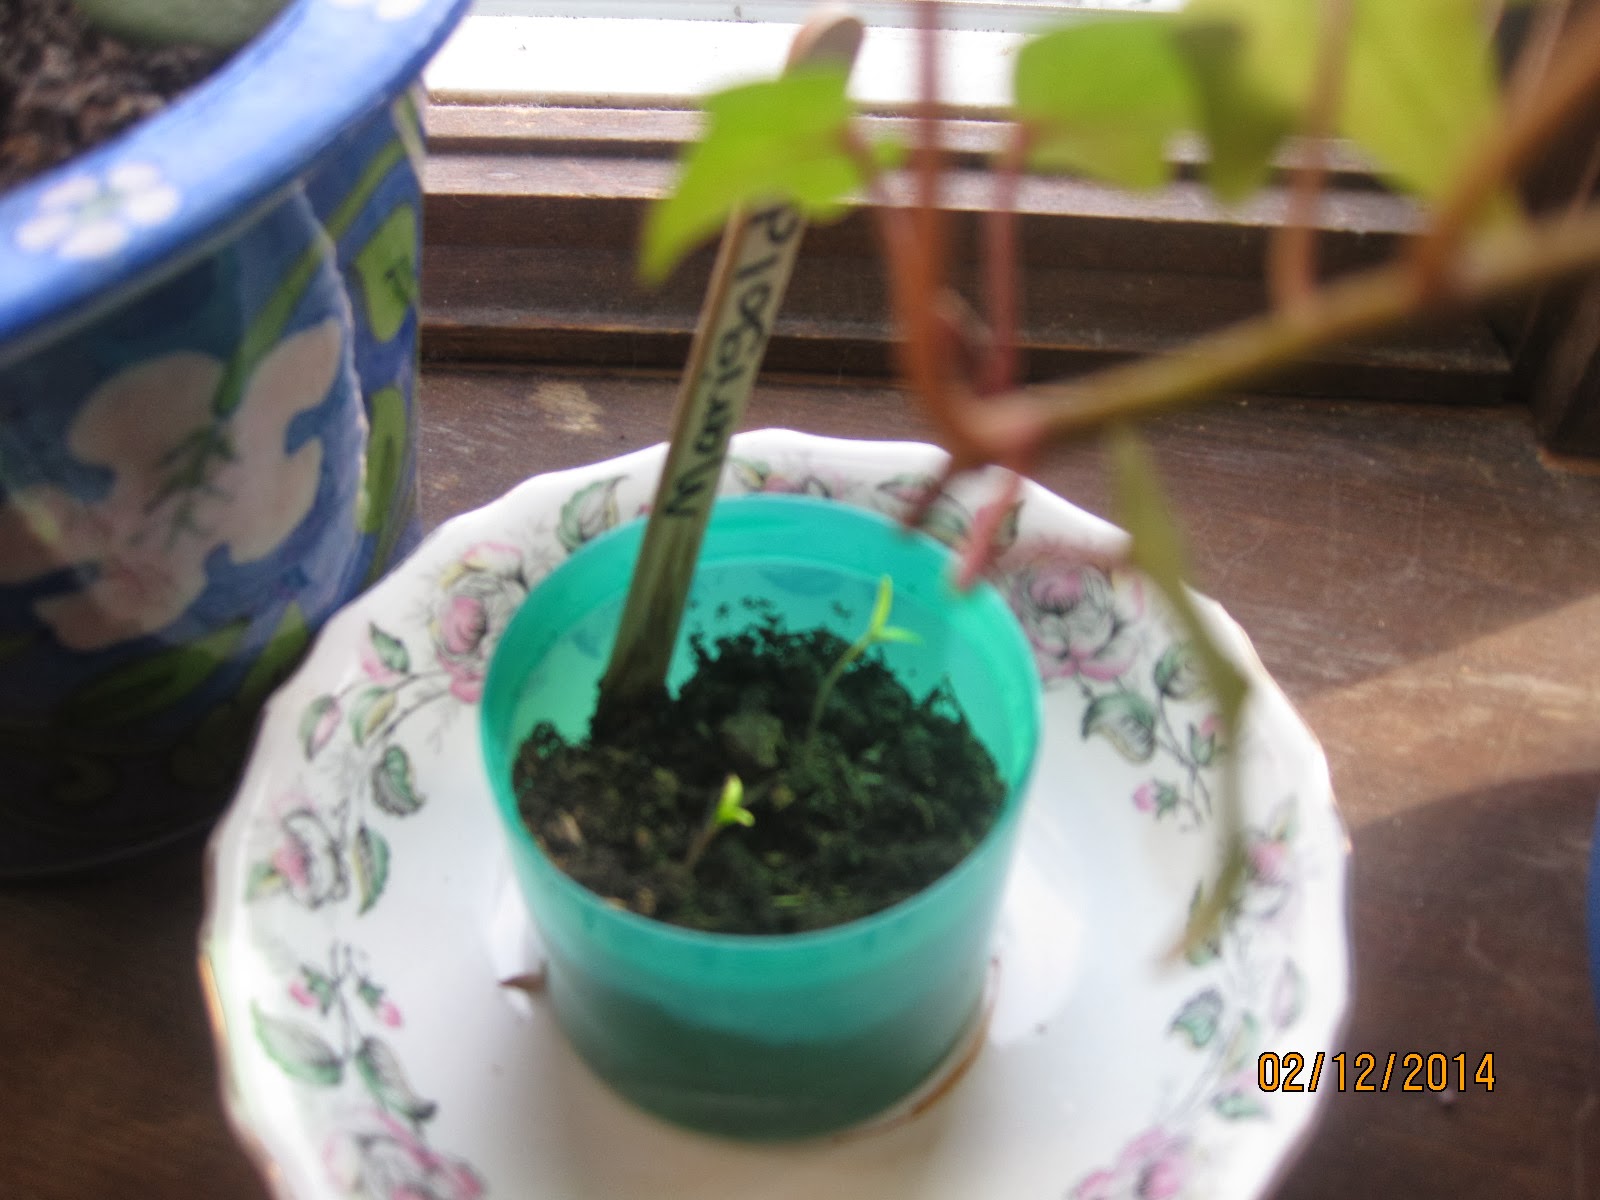
P is for Plants: I sent a flyer home asking parents to send in containers that their child could use as a planter, but I wanted it to be something that was being reused or repurposed or recycled. We used plastic yogurt containers, hair spray lids, plastic cups and laundry detergent lids. We planted flowers and carrots! They are growing wonderfully.This is a Jesus Valentine. I printed the saying on white cardstock and provided valentines with which the students could decorate around the poem.
P is for Pistachio. My husband was wondering why his stash of pistachios was dwindling so quickly. I explained that they kids had discovered them and loved them. So they ask for them at snack time. We save the shells, and the children outlined the upper-and lower case P's with the pistachio shells.
This was just a fun little extra activity for P is for Plant week. We made these tissue paper flowers! I attached mine to a pencil as a pencil decoration. The students took theirs home to their moms.
Q is for Quilt. I took freezer paper and decorated it with washi tape (that I found on sale for $.75 per rolls. I chose colors and designs I thought my students would like. I explained that this was their own individual quilts but that we would be working on decorating them like a quilting bee--we would each work on each other's quilts to get a finished design! They loved this idea and took to it easily.
This is a Valentine's card that one of the kids made for their parents. We used our thumb prints to make bugs for the "Some Buggy Loves You" card.
Q is for Quilt: Our finished product from our quilting bee! We all lay down on the floor with crayons, stretched out, and made our designs on each child's quilt. I hung them on my quilt rack so they could see how they looked hanging up!
P is for Pistachio (shells)
Our plants are growing!
Valentine Boxes ready for decorating!
Money Man: I traced coins to make the body. Below: the children decided which coin went where depending on the size of the circle. They then answered the questions: count the coins in the legs, the arms, then then head. This helps with size and counting.
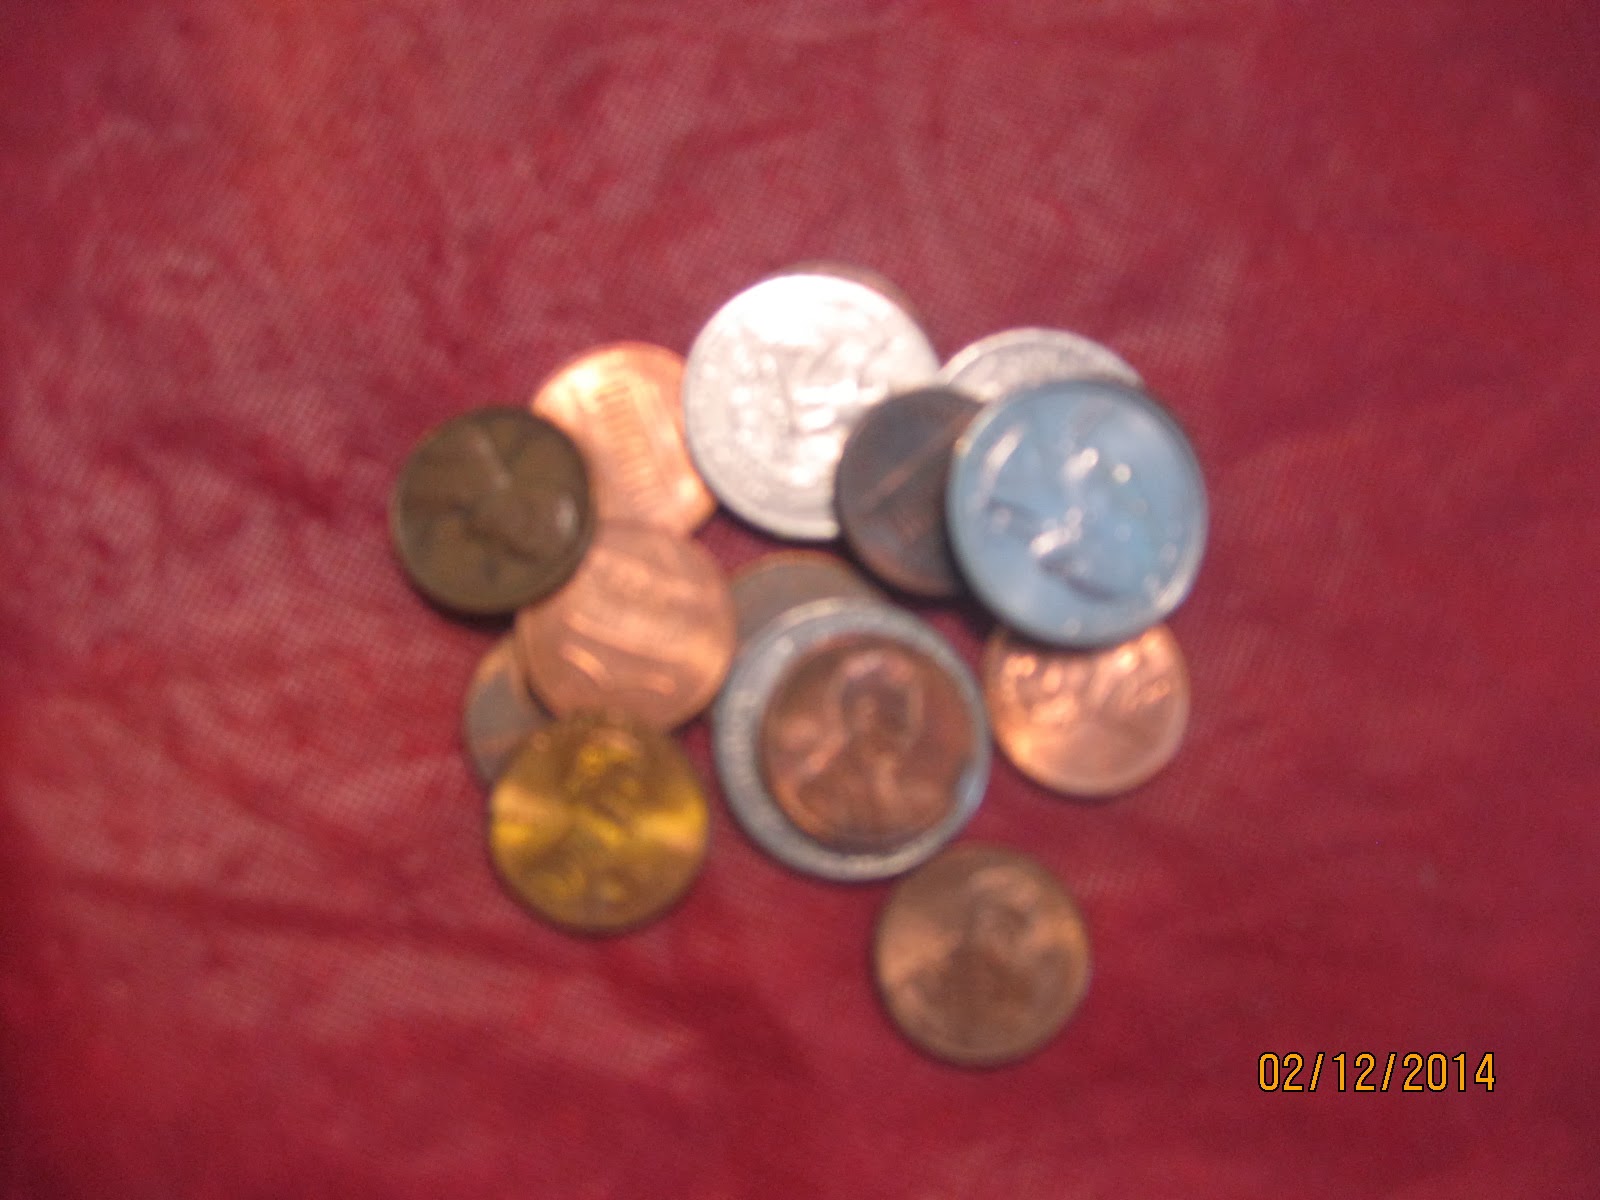
This became a kid-initiated activity. While studying about quarters and pennies, the kids decided my coins needed cleaned. So we googled to see how to do this. We put some vinegar in water and let them soak. They did come out shiny and clean!
Above: We placed a sheet of white paper over a penny and a dime. Then we took a crayon and rubbed the crayon over the coins, and voila! the coins appeared!
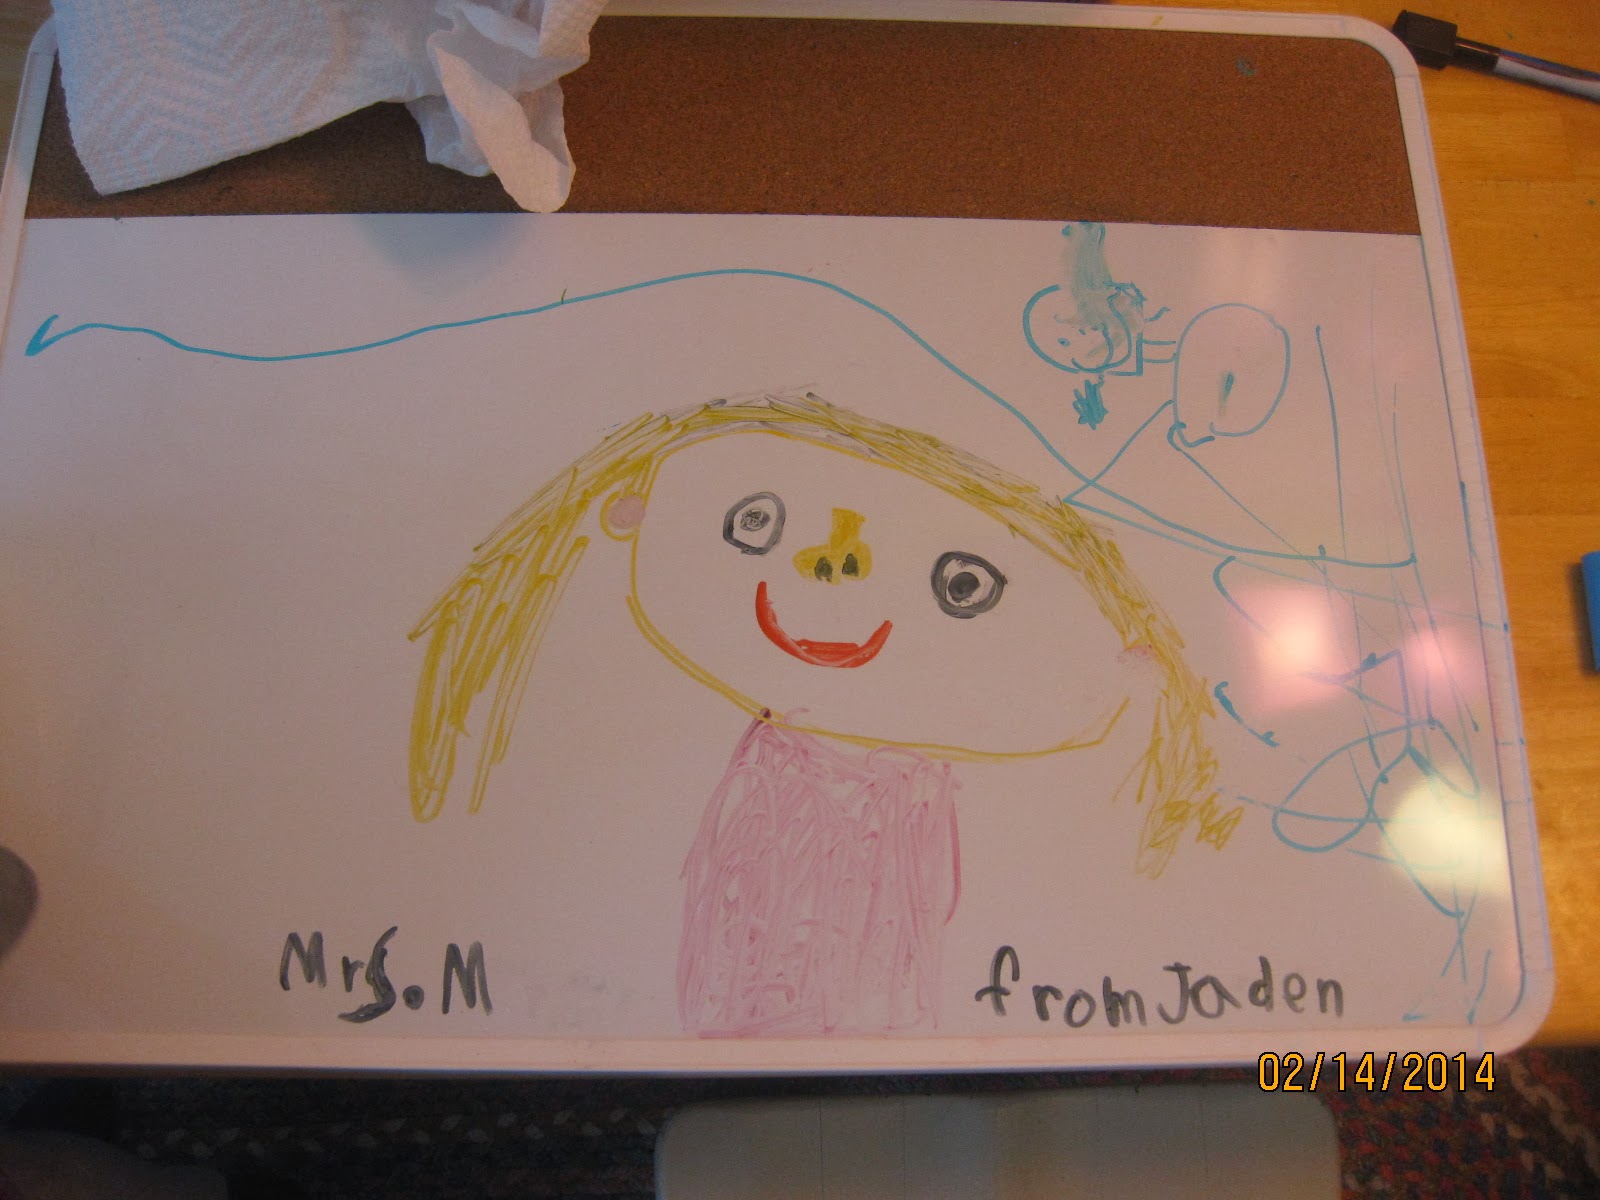
Jake's brother came to visit us, and the kids enjoyed some drawing time.
My students know I love chocolate and tea! What a nice Valentine surprise for the teacher!
Jaden wanted to take our picture!
Silly us!
Nice picture, Madison!
Casey's turn to use my camera!
Candy heart sorting by color
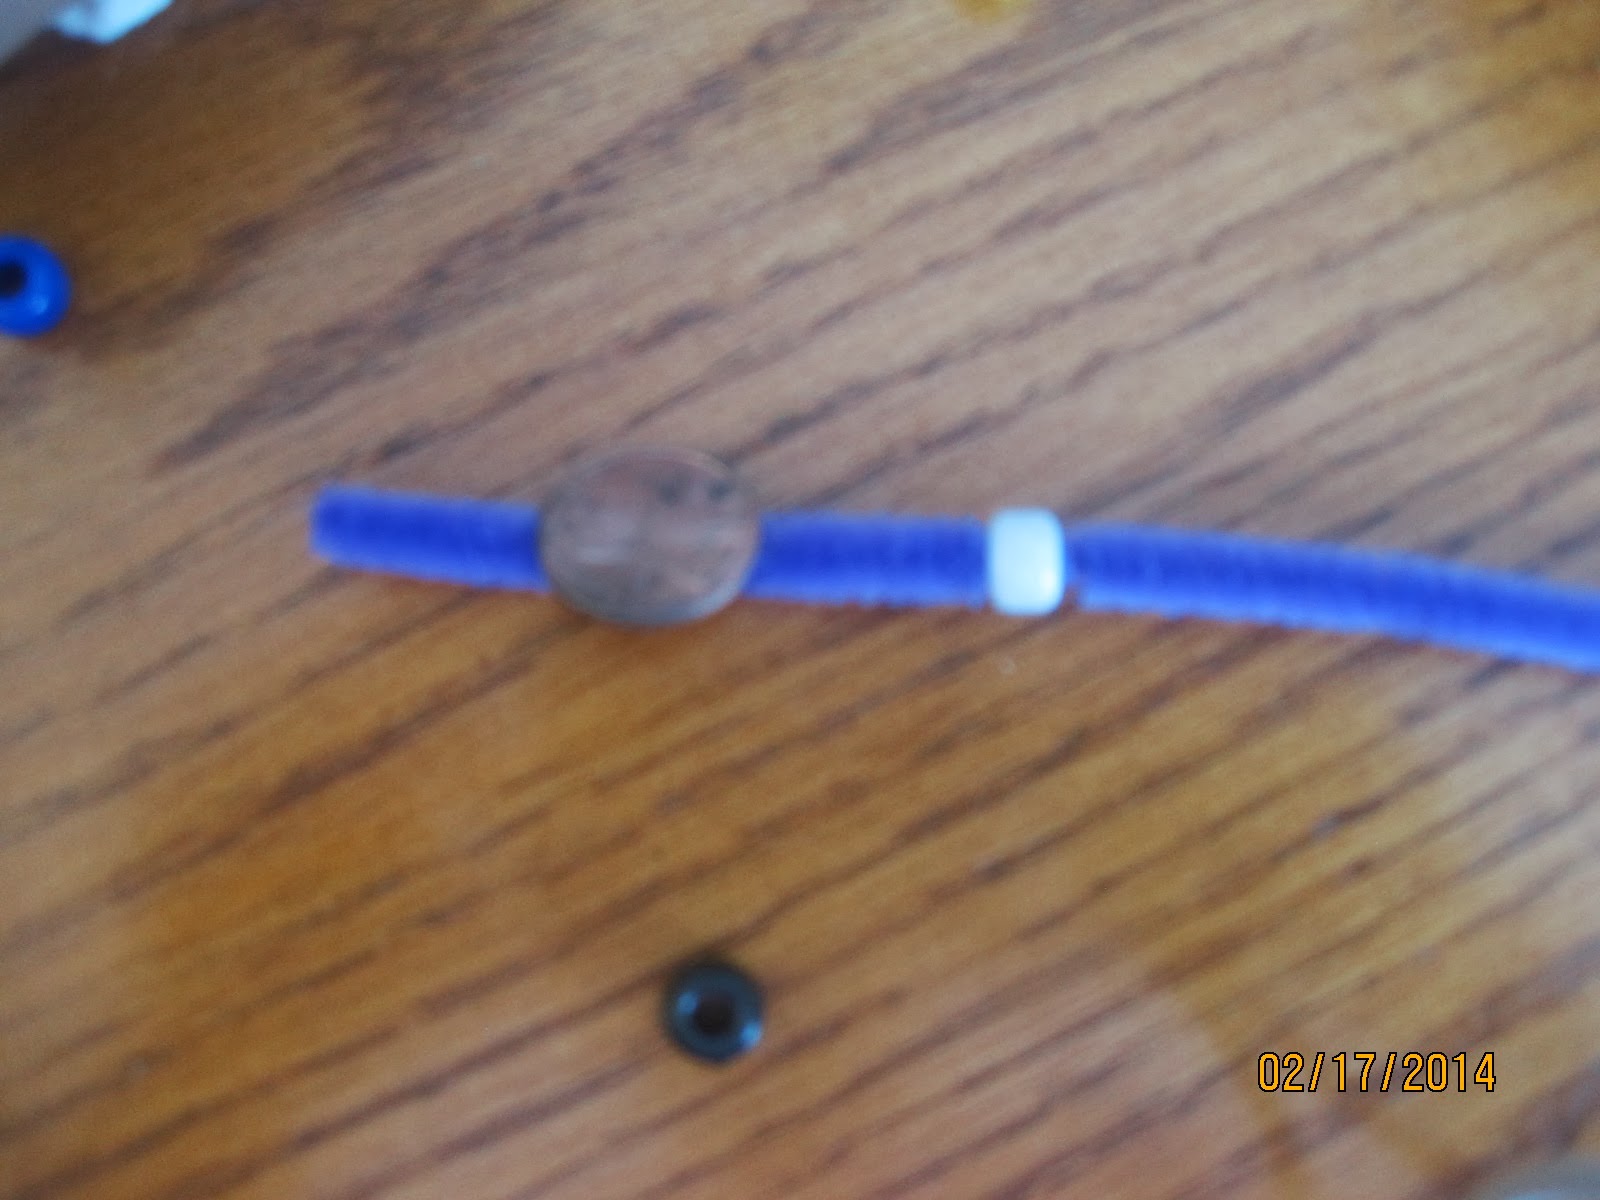
Coin Bracelet. Each child was shown a quarter and told to pick out the amount of beads that a quarter is worth: a quarter is worth 25 cents, so each child counted out 25 beads, and we made a bracelet with them.
I taped a penny to one pipe cleaner and a quarter to the other; then the children chose a bead for the amount of pennies in each coin: 1 penny on the penny pipe cleaner and a quarter taped to another pipe cleaner.
On the way to 25 beads for the quarter that is worth 25 cents!
1 bead on the penny!
Q is for quilt
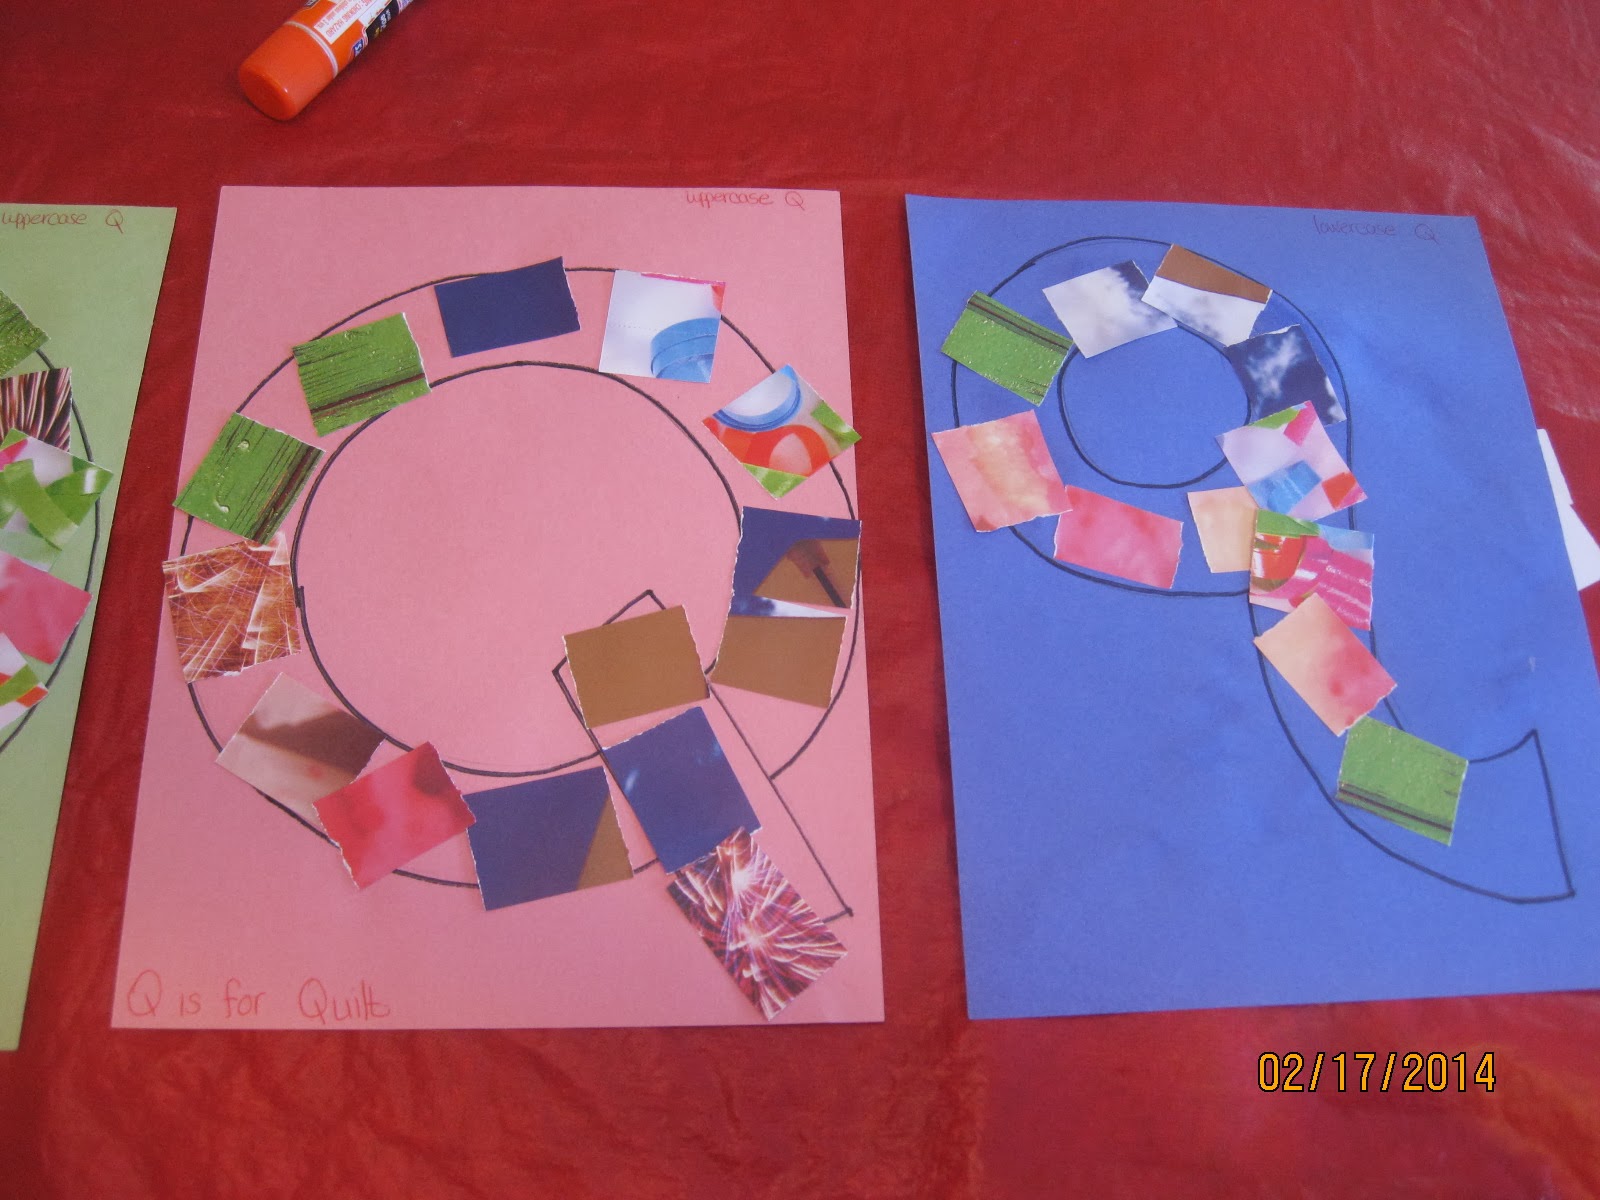
For this project, I gave the children precut squares of various paper designs. They outlined the Q shapes with the squares of paper.
Casey's quilt
Casey wanted me to take a picture of the pillow we made together. I had cut a tablecloth apart a while ago and put the leftover tablecloth material in the children's art box. Casey decided he could make a pillow out of the leftover cloth, so we did just that. We stuffed it with pillow stufing and stapled it together.
Learning with blocks!
R is for Rock. I took the children outdoors, and we hunted for large rocks. With close supervision by me, I took turns giving the children a hammer and let them break the rocks with the hammer. They loved this! You really have to be careful with this activity and supervise very closely.Rock Counting: I spread out these number papers on the table and provided gems for the children. You need a lot of gems for this activity. The children each took turns placing the correct amount of gems on each number. The larger numbers definitely proved more challenging for them, so they needed a little assistance with those.
Toes make great sling shots!
Being silly!
Rock Boxes: I gave each child a plain box and lots of gems and glue. They used their creativity to place the gems just so on their boxes. Cute!
Crayon Rocks: I used a paring knife and chiseled some crayons into tiny pieces. The children could put the tiny pieces of crayons on top of their rocks in any fashion they liked. Then I placed them in a 250 degree oven for a short time and melted the crayon to the rock.
Our beautiful crayon rocks!
A blue freezer pop melted on Jake's tongue matches his blue crayon rock!
Rest time during after-school care!
Mixing up dough that will harden in the oven. After mixing the dough, we pushed gems/rocks into the dough and baked them in the oven.
Encouragement Flags: The Bible tells us to encourage one another!
S is for Space and Sun!
Tissue paper Earth suncatchers--see below hanging in window
This activity was a favorite--go figure. I thought they'd get bored after a few pages, but they wanted to ADD pages! I gave them stickers, and we labeled each page according to number, and the kids added the appropriate amount of stickers to each page: ex: page 1 has 1 sticker on it, page 2 has 2 stickers, etc.
Casey brought in some ice cream treats!
Found this Rock candy at Five Below--great for our R is for Rock theme--they taste good and chocolatey, too!













No comments:
Post a Comment